Pickling for Beginners:
Transforming Cucumbers and Beans into Quick Pickles.
Pickling is one of the easiest and most flavorful ways to preserve your harvest, and you don’t need a pantry full of specialized equipment to get started.
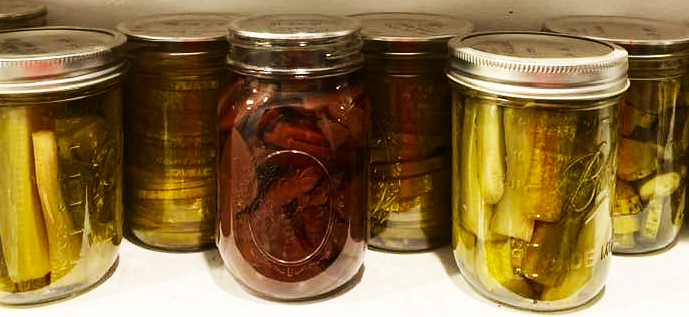
Quick pickles, also known as refrigerator pickles, are the perfect entry point. Unlike traditional canning, there is no boiling water bath required. You simply make a brine, pour it over your veggies, and let the refrigerator do the work.
Before you start, gather some basic supplies. What You’ll Need:
- Clean glass jars: Mason jars work best, but this is one instance where any clean glass jar with a tight lid will do. Reduce, Re-Use, Recycle!
- Vegetables: Fresh, crunchy cucumbers or green beans work especially well.
- Vinegar: White vinegar or apple cider vinegar (5% acidity).
*NOTE: check labels when buying vinegar! The labels look the same, but 4% may not work!
- Water: Filtered water is best to keep the brine clear.
- Salt: Use sea salt or pickling salt (avoid table salt with iodine, as it can make the brine cloudy).
- Optional Aromatics: Garlic cloves, fresh dill, mustard seeds, or black peppercorns.
*It’s worth mentioning here that commercial pickling mixes DO exist. My first few batches didn’t work, so until I figured it out, Mrs. Wages came to my rescue!
Step 1: Prep Your Vegetables
The secret to a good pickle is starting with fresh, firm produce. You’ll get the best results by pickling within 12 to 24 hours of harvesting your vegetables.
Cucumbers: Wash them thoroughly. Cut them into 1/4-inch rounds or 1/4-inch lengthwise slices for sandwiches and long spears (quartered lengthwise) for snacking.
Green Beans: Trim the stem ends so they fit vertically in your jar with about half an inch of headspace at the top.
Pro Tip: For extra crunchy pickles, soak your sliced cucumbers in ice water for 30 minutes before packing them into jars.
Step 2: Pack the Jars
- Add a teaspoon of mustard seeds or peppercorns to the bottom of the jar before adding the veggies.
- Pack the cucumbers or beans in tightly without crushing the fruit; they will shrink slightly once the hot brine is added.
- Slide in a few garlic cloves and a sprig of fresh dill.
- Or both!
Step 3: Make the Basic Brine
This simple 1:1 ratio works for almost any quick pickle:
- 1 cup water
- 1 cup vinegar
- 1 tablespoon salt
- 1 tablespoon sugar (optional, but helps balance the acidity)
In a small saucepan, combine the ingredients and bring them to a simmer over medium heat. Stir until the salt and sugar are completely dissolved.
Step 4: Fill and Chill
- Carefully pour the hot brine over the vegetables, ensuring they are completely submerged. Leave about half an inch of space at the top of the jar.
- Tap the jars gently on the counter to remove any trapped air bubbles.
- Wipe the rims clean and screw on the lids.
- Let the jars cool to room temperature on the counter (2-4 hours).
- Place them in the refrigerator.
When Can I Eat Them?
While you can eat them after a few hours, the flavor really develops after 24 to 48 hours.
Quick pickles are NOT shelf-stable, so keep them tucked away in the fridge. They will stay crunchy and delicious for about 3 to 4 weeks, though ours usually get eaten long before then!
Beyond Cucumbers
Once you master this method, feel free to experiment. This same brine and process work beautifully for:
- Red onion slices
- Carrot sticks
- Radishes
- Cauliflower florets
It’s a satisfying way to simplify your food prep and enjoy the flavors of the garden all month long. Happy pickling, my people! Vlasic’s got nothing on us!